Nau mai, haere mai (Māori for welcome)
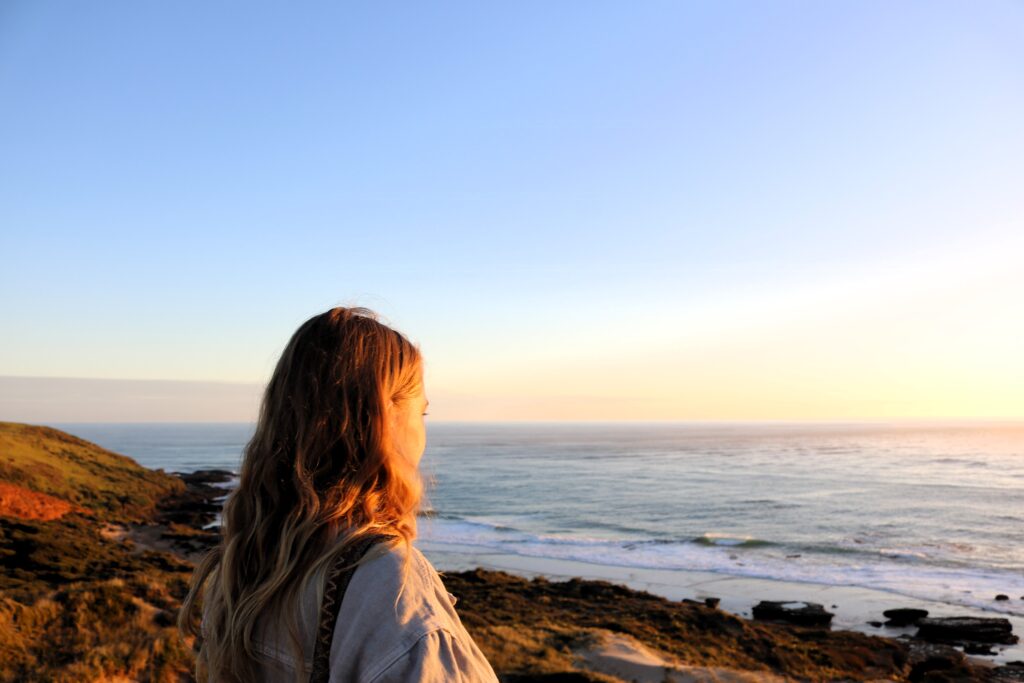
Get ready for a life-changing New Zealand backpacking experience—Aotearoa is the place to find your freedom.
Chances are you didn’t just wake up one day and say—I’m gonna go backpack New Zealand. Or, maybe you did? It rolls off the tongue nicely.
For so many backpackers that we’ve met, coming to New Zealand has been a lifelong dream. For some, that dream even stretches back to childhood. There’s something about this mystical land at the far corner of the world that pulls you in.
For many it’s The Lord of the Rings. The film trilogy has become ingrained in the New Zealand backpacking experience. For sure, it adds another layer to your journey here. In fact, it seems half the places on Google Maps have actually been dreamed up by Tolkien himself. Welcome to Middle-earth.
There’s plenty to think about when you’re planning your backpacking trip to New Zealand. Maybe it’s your first time backpacking anywhere? Or, perhaps you’re a seasoned pro. Whatever the case may be we’ve put this guide together to help address any of the questions you may have about backpacking New Zealand.
We’re going to do our best to keep this guide fun but factual—laser-focused on useful, high-value info and insight so you land in Aotearoa confident and ready to roll. We’ve fact-checked all the details and technicalities for your peace of mind—down to the last calculation.
Ready to start your adventure? Let’s go! 🤠
Entry requirements: NZeTA, Visitor Visa, and Working Holiday Visa
Let’s start with the boring shit. Are you still here? Good!
Before you book those flights, you’ll most likely need one of the following three to enter New Zealand.
NZeTA
AKA New Zealand Electronic Travel Authority.
If you’re from a visa-waiver country or territory and visiting for a short trip, you’ll likely need an NZeTA.
- The NZeTA is valid for up to 3 months of travel at a time (6 months if you’re from the UK).
- You may enter New Zealand multiple times with a valid NZeTA (usually 2 years).
- Request it via the official free app (NZD $17) or online (NZD $23).
- Allow up to 72 hours for processing—many approvals arrive faster but don’t cut it fine.
- You’ll also pay the International Visitor Conservation and Tourism Levy (IVL) at the same time (currently NZD $100).
👉🏼 For everything you need to know about the NZeTA check out our dedicated guide.
Or, visit the Immigration New Zealand website to apply for the NZeTA now.
Visitor Visa
If you’re not from a visa‑waiver country or plan to stay longer than the NZeTA allows, apply for a Visitor Visa in advance. These are valid for up to either 6 or 9 months and cost NZD $441.
Official guidance outlines who needs one and what to prepare (passport, onward ticket, proof of funds).
Visit the Immigration New Zealand website to apply for the Visitor Visa now.
Working Holiday Visa (WHV): Your ticket to work and travel
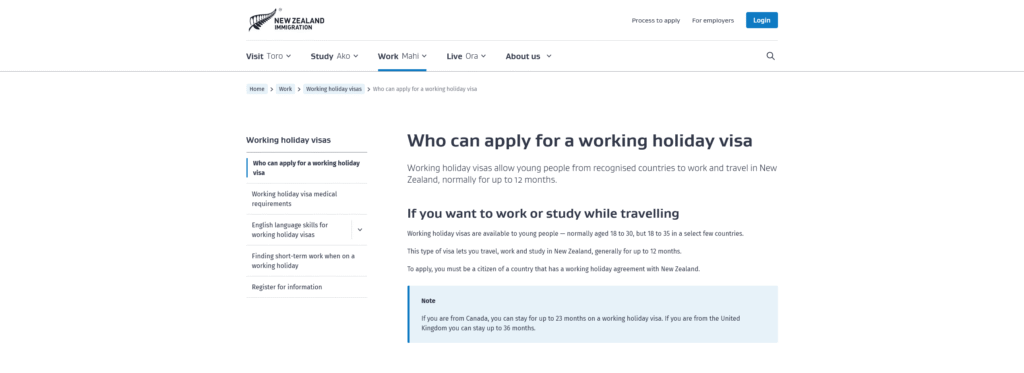
If you want to work while backpacking New Zealand, the Working Holiday Visa is your golden ticket. It’s designed for young travellers who want to fund their adventures through short-term jobs while soaking up the Kiwi culture.
⏱️ Pro tip: Apply before you travel—processing is faster outside NZ (often under a week vs 4 weeks if you apply in-country).
Who can apply?
- Age: Usually 18–30, but some countries allow up to 35 (e.g., UK, Canada, Argentina).
- Nationality: You must hold a passport from one of the 40+ countries with a WHV agreement with New Zealand.
- Health and character: Applicants must meet health standards (sometimes requiring a chest X-ray) and provide a police certificate for good character.
- Dependents: You cannot bring children on a WHV.
✅ Pro tip: Apply as soon as your country’s quota opens—spots for some nationalities fill up fast and can be extremely limited (e.g., 100 for Austria).
How long can you stay?
- Most countries: Up to 12 months
- UK citizens: Up to 36 months
- Canada: Up to 23 months
Extensions: If you complete 3 months of seasonal work in horticulture or viticulture, you can apply for a 3-month extension.
Financial requirements
You need to show sufficient funds to support yourself:
- Most countries: NZD $4,200
- UK: NZD $350 per month of stay
Evidence can include bank statements, credit card limits, or traveller’s cheques.
💰 Pro tip: Immigration may check your funds on arrival, so keep proof handy.
Insurance requirements
Comprehensive medical and hospitalisation insurance is mandatory for most WHV holders (except Ireland, Japan, Malaysia, and UK).
Your policy must cover:
- Doctor visits and hospital stays
- Emergency evacuation and repatriation
- Full visa duration
Optional: Add cover for adventure sports and manual work (fruit picking, ski fields).
🩺 Pro tip: Choose a plan recognised by Immigration NZ (e.g., OrbitProtect, Southern Cross) and carry your certificate—you may need to show it at the border.

Application process
- Apply online via the Immigration NZ website (all WHVs are digital).
- Create an account.
- Complete the application by filling out the online form.
- Upload documents:
- Passport
- Proof of funds
- Insurance certificate
- Medical certificate (if applicable)
- Police certificate (if applicable)
- Return ticket or funds to buy one
- Pay the fee—NZD $35–$770 depending on country.
- Wait for approval
- Average: 50% of applications processed take 3 days
- Most: 80% of applications are processed within 2 weeks
- If your application contains all the required info and docs it will be closer to the average time
Note: You must provide certified English translations of all medical and police certificates.
Conditions while on WHV
- You can work in short-term or seasonal jobs (hospitality, fruit picking, ski fields).
- No permanent jobs allowed.
- You can study for up to 6 months.
- Pay tax on all income (get your IRD number early!).
👉🏼 See our Jobs guide for how to get your IRD number.
Country-specific extras
- Some countries have quotas (e.g., Brazil: 300 WHVs/year).
- English language proof may be required for certain nationalities.
- Medical checks vary by country.
⚠️ Pro tip: You can only get a WHV once to work in New Zealand (even if you never use it)—make sure you use it! There are no second chances here. Ensure the visa you’re applying for is right for your visit.
How much does it cost to backpack New Zealand?
New Zealand isn’t the cheapest backpacking destination (especially if you’re coming from somewhere like Thailand), but with smart planning, you can keep costs under control. Rest assured we’ve done some careful calculations to give you an accurate idea of the daily costs for your trip.
Here’s what to expect:
Average daily budget
- Shoestring: NZD $70–$80
- Sleeping in dorms and campgrounds
- Cooking your own or shared meals
- Using the InterCity bus network or ridesharing (including fuel)
- Comfortable: NZD $170–$180
- Sleeping mainly in a campervan, occasional private hostel room
- Cooking your own or shared meals, occasional eating out
- Sharing the cost of a campervan rental (including fuel)
- Cheaper activities, occasional pricey one
- Adventure-packed: NZD $180-$230+
- Sleeping in private hostel rooms (sharing cost), or dorms (singular)
- Eating out and cooking your own or shared meals
- Booking a tour or car rental (including shared hire and fuel)
- Allows for 2-3 pricey activities per week
Biggest expenses
- Hostels: NZD $30–$50 per night for dorms; private rooms start around NZD $80.
- Campgrounds: Paid sites are usually NZD $20-30 per night. Self-contained campervans offer many free options.
- Transport: InterCity buses are budget-friendly; campervan rentals add fuel and insurance costs (but you can share the costs with a travelmate).
- Food: Groceries for a week = NZD $100+, eating out = NZD $15–$25 per meal.
- Activities: Bungy jump = NZD $200+, Milford Sound cruise = NZD $100+, Hobbiton tour = NZD $120+.
- Extras: SIM card = NZD $20-50, laundry = NZD $8–$10 per load, Cook Strait ferry crossing = NZD $200+ (shared cost per person for a small camper and 2 passengers).
Money-saving tips
- Cook in hostel kitchens and shop at Countdown or Pak’nSave.
- Use the CamperMate App to find free or low-cost campsites.
- Grab campervan relocation deals from Transfercar for cheap to zero-cost trips.
- Book activities in bundles or look for backpacker discounts.
💡 Pro tip: Always budget for a little overage—unexpected costs, or even an extra activity.
When to go and what to pack (by season)
The question you need to ask yourself—what’s the purpose of your trip? Are you just backpacking New Zealand, or will you be working and travelling?
If you only plan to travel New Zealand (without working)
For those of you heading to NZ for the sole purpose of travelling, you’ll most likely want to be here in the warmer season. Many backpackers choose to explore the warmer north first in spring and end their trip in the south during summer.
In the North Island—the warm season runs from mid-October to late-April, with peak summer months from December to March.
The South Island is a different story. If you’re looking for warmer weather here, the only guarantee is usually summer, especially January.
On the other hand, if you’re coming for ski season this typically runs from early June to late October.
🚐 Budget hack: If you’re renting a campervan, starting from Christchurch is almost always cheaper (e.g., 20% off). Return trips also save you money.
If you’re backpacking New Zealand on a WHV
With a WHV you’ll have the chance to work and travel for up to 1 year and this often means more flexibility with dates.
Many backpackers choose to arrive in New Zealand in early winter and start working first to save for summer travel. However, you could also turn up in October if you want to escape winter, and still have time to work and save for summer.
Or, you may just want to jump right in and start exploring from day one, and work seasonal jobs on the go.
Whatever your choice—there’s no right or wrong way. With 1 year on your WHV, you’ll have plenty of time to work and travel at your own pace.
☀️ Pro tip: The best way to escape the cold weather on a WHV is a trip to the Far North. Dubbed “The Winterless North”, this small area north of Auckland offers plenty of seasonal work opportunities and year-round beach vibes.
Seasons at a glance
The North and South Islands have two quite different climates. Generally speaking the north is warmer and more humid, and the south is cooler and drier.
The seasons are more distinct in the South, whereas the North (apart from the central region) typically has a longer summer period.
- Summer (Dec–Feb): Peak season means peak prices. Save by staying at campgrounds. Consider relocations.
- Autumn (Mar–May): Shoulder season. Still warm. Fewer crowds. Better deals. Great for road trips.
- Winter (Jun–Aug): Snow in alpine areas—bring thermals if skiing or tramping.
- Spring (Sep–Nov): Wildflowers and variable weather—layer up. Expect a bit of everything.
🚐 Pro tip: Consider backpacking in the shoulder seasons around summer—you’ll find better rates and save money. The weather is still warm in the north and you’ll enjoy the scenery with less crowds.
Layering that works
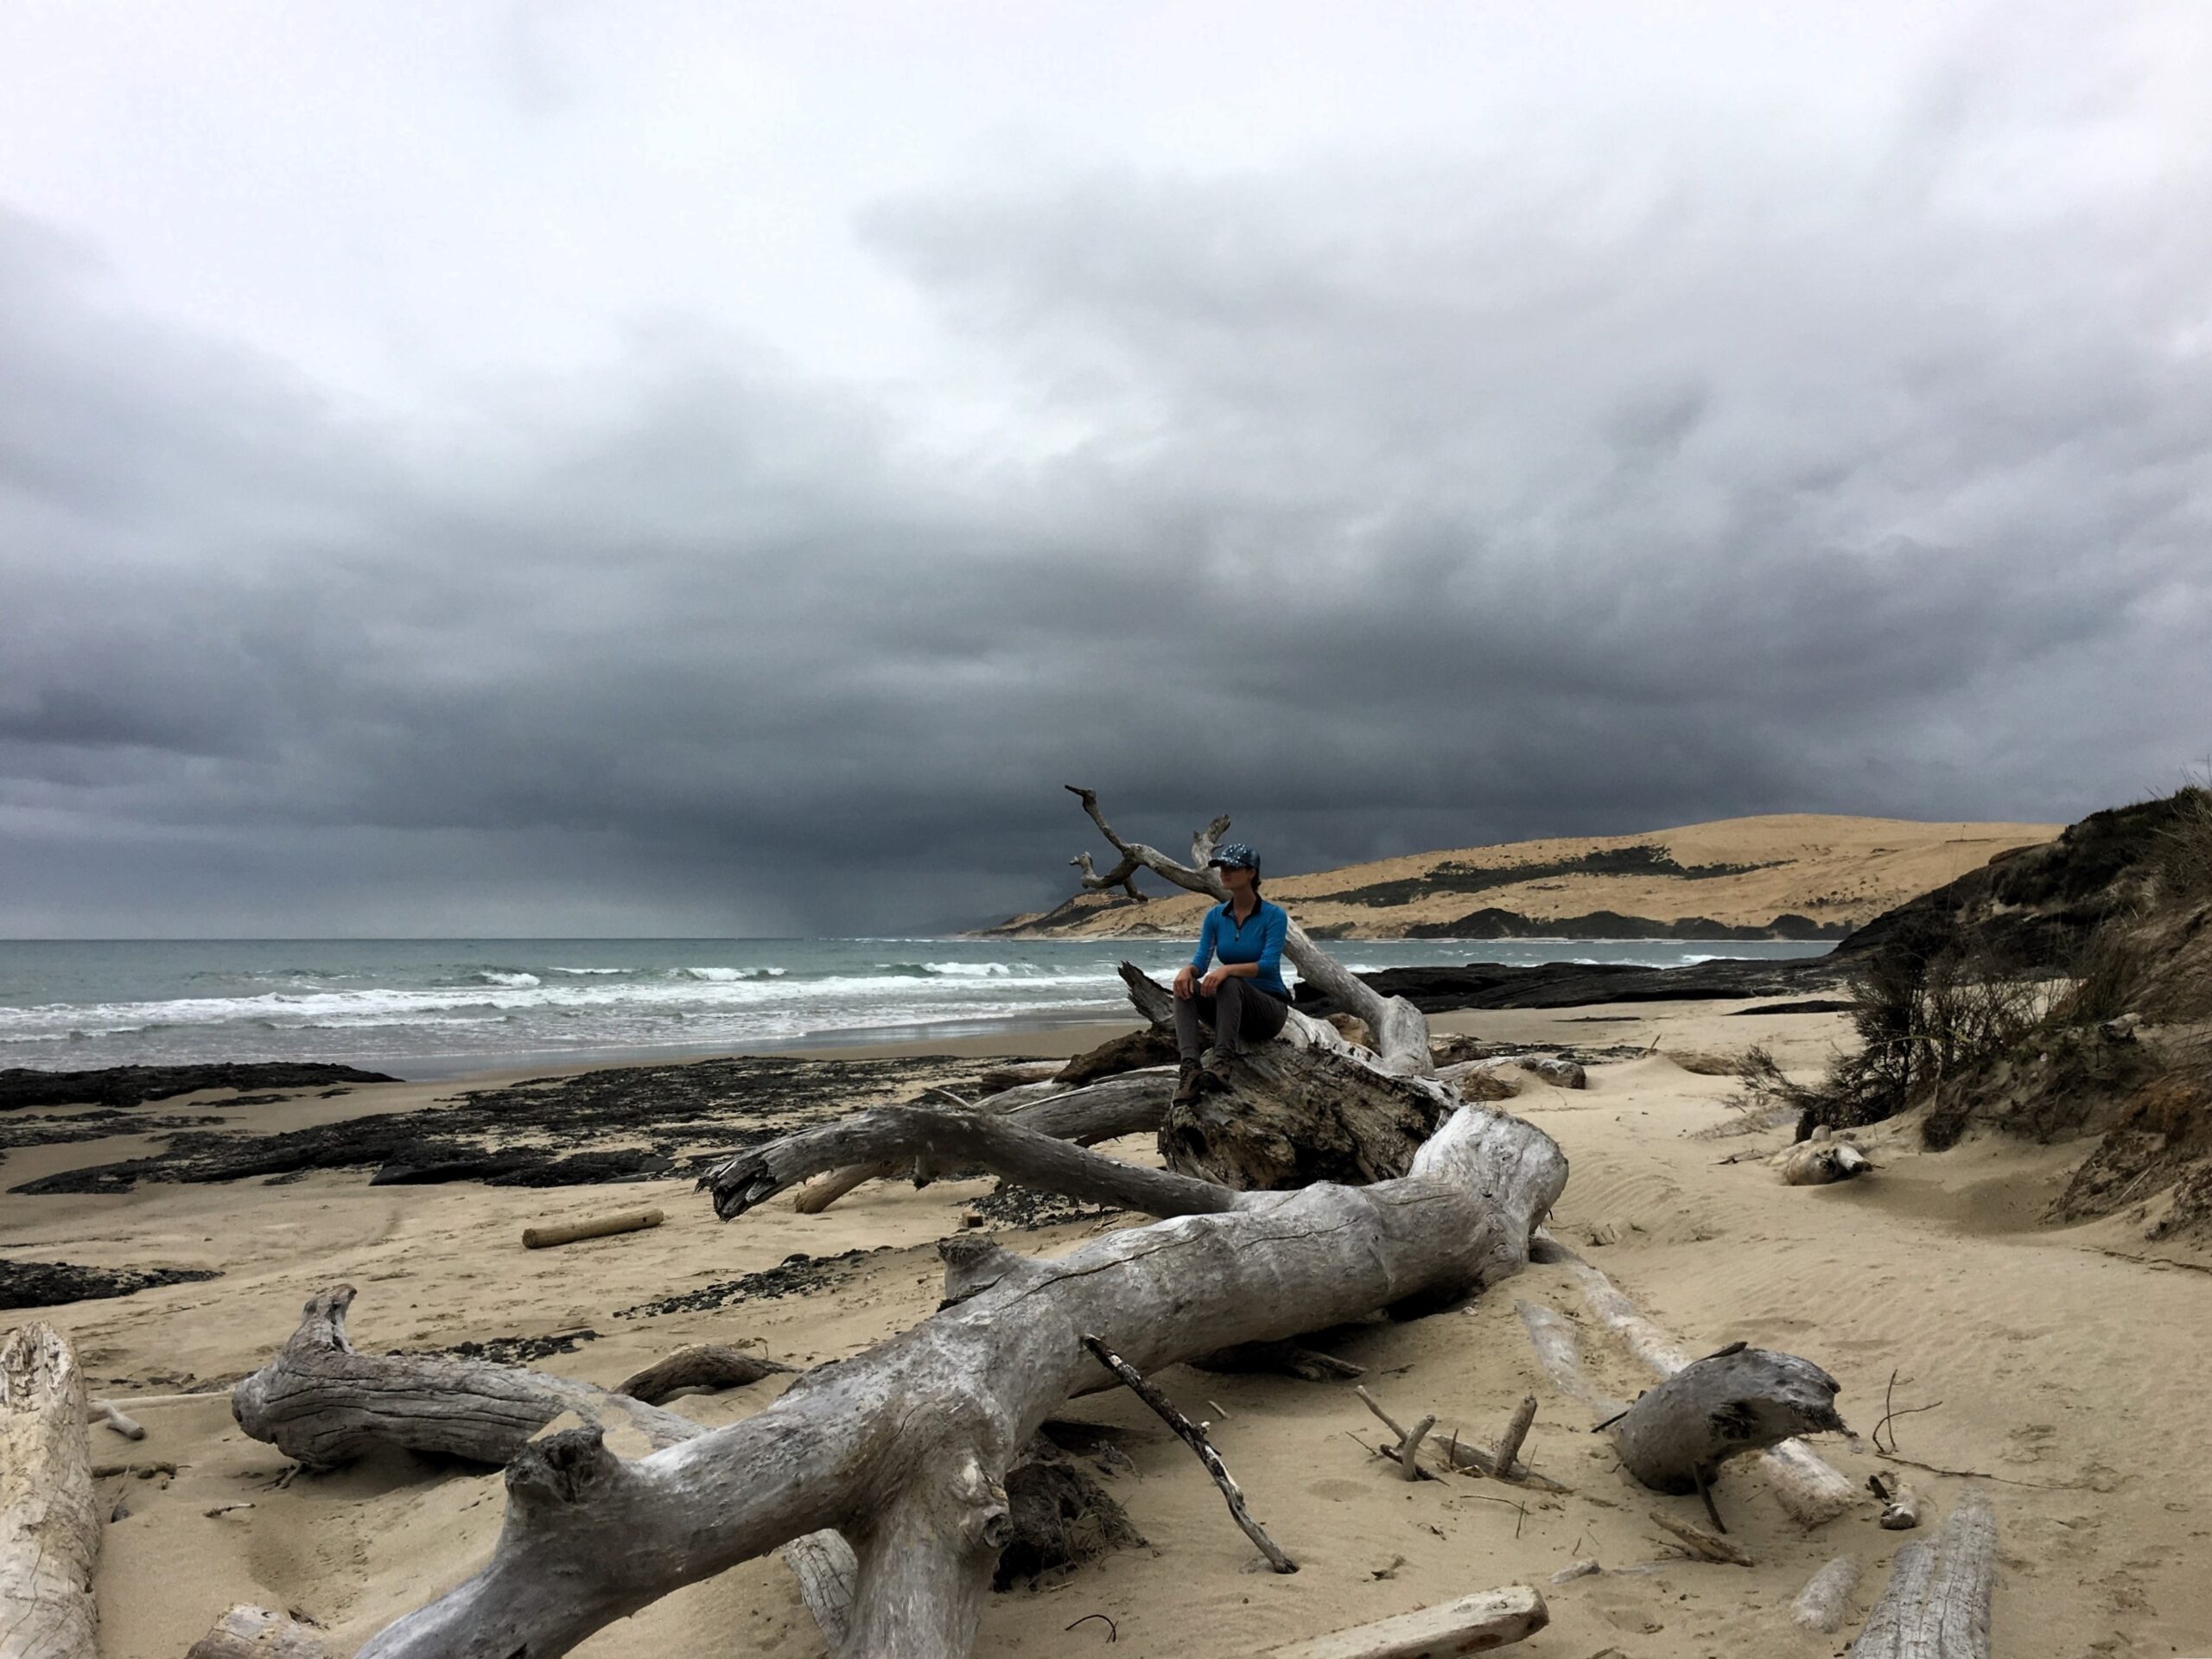
New Zealand is the definition of four seasons in a day. The weather can flip so fast you’ll think today was yesterday. One minute it’s calm and sunny, the next minute you’ll think you’re in the middle of a small hurricane. Seriously—it’s nuts!!
This is especially true in alpine regions. Always, always check the forecast before you plan any major hikes.
Pack for layers and think seasonally.
Follow the three-layer rule:
- Base: Merino or quick-dry synthetic
- Insulation: Fleece or light puffer
- Shell: Waterproof, windproof jacket
This combo handles southerly squalls and “four seasons in a day”.
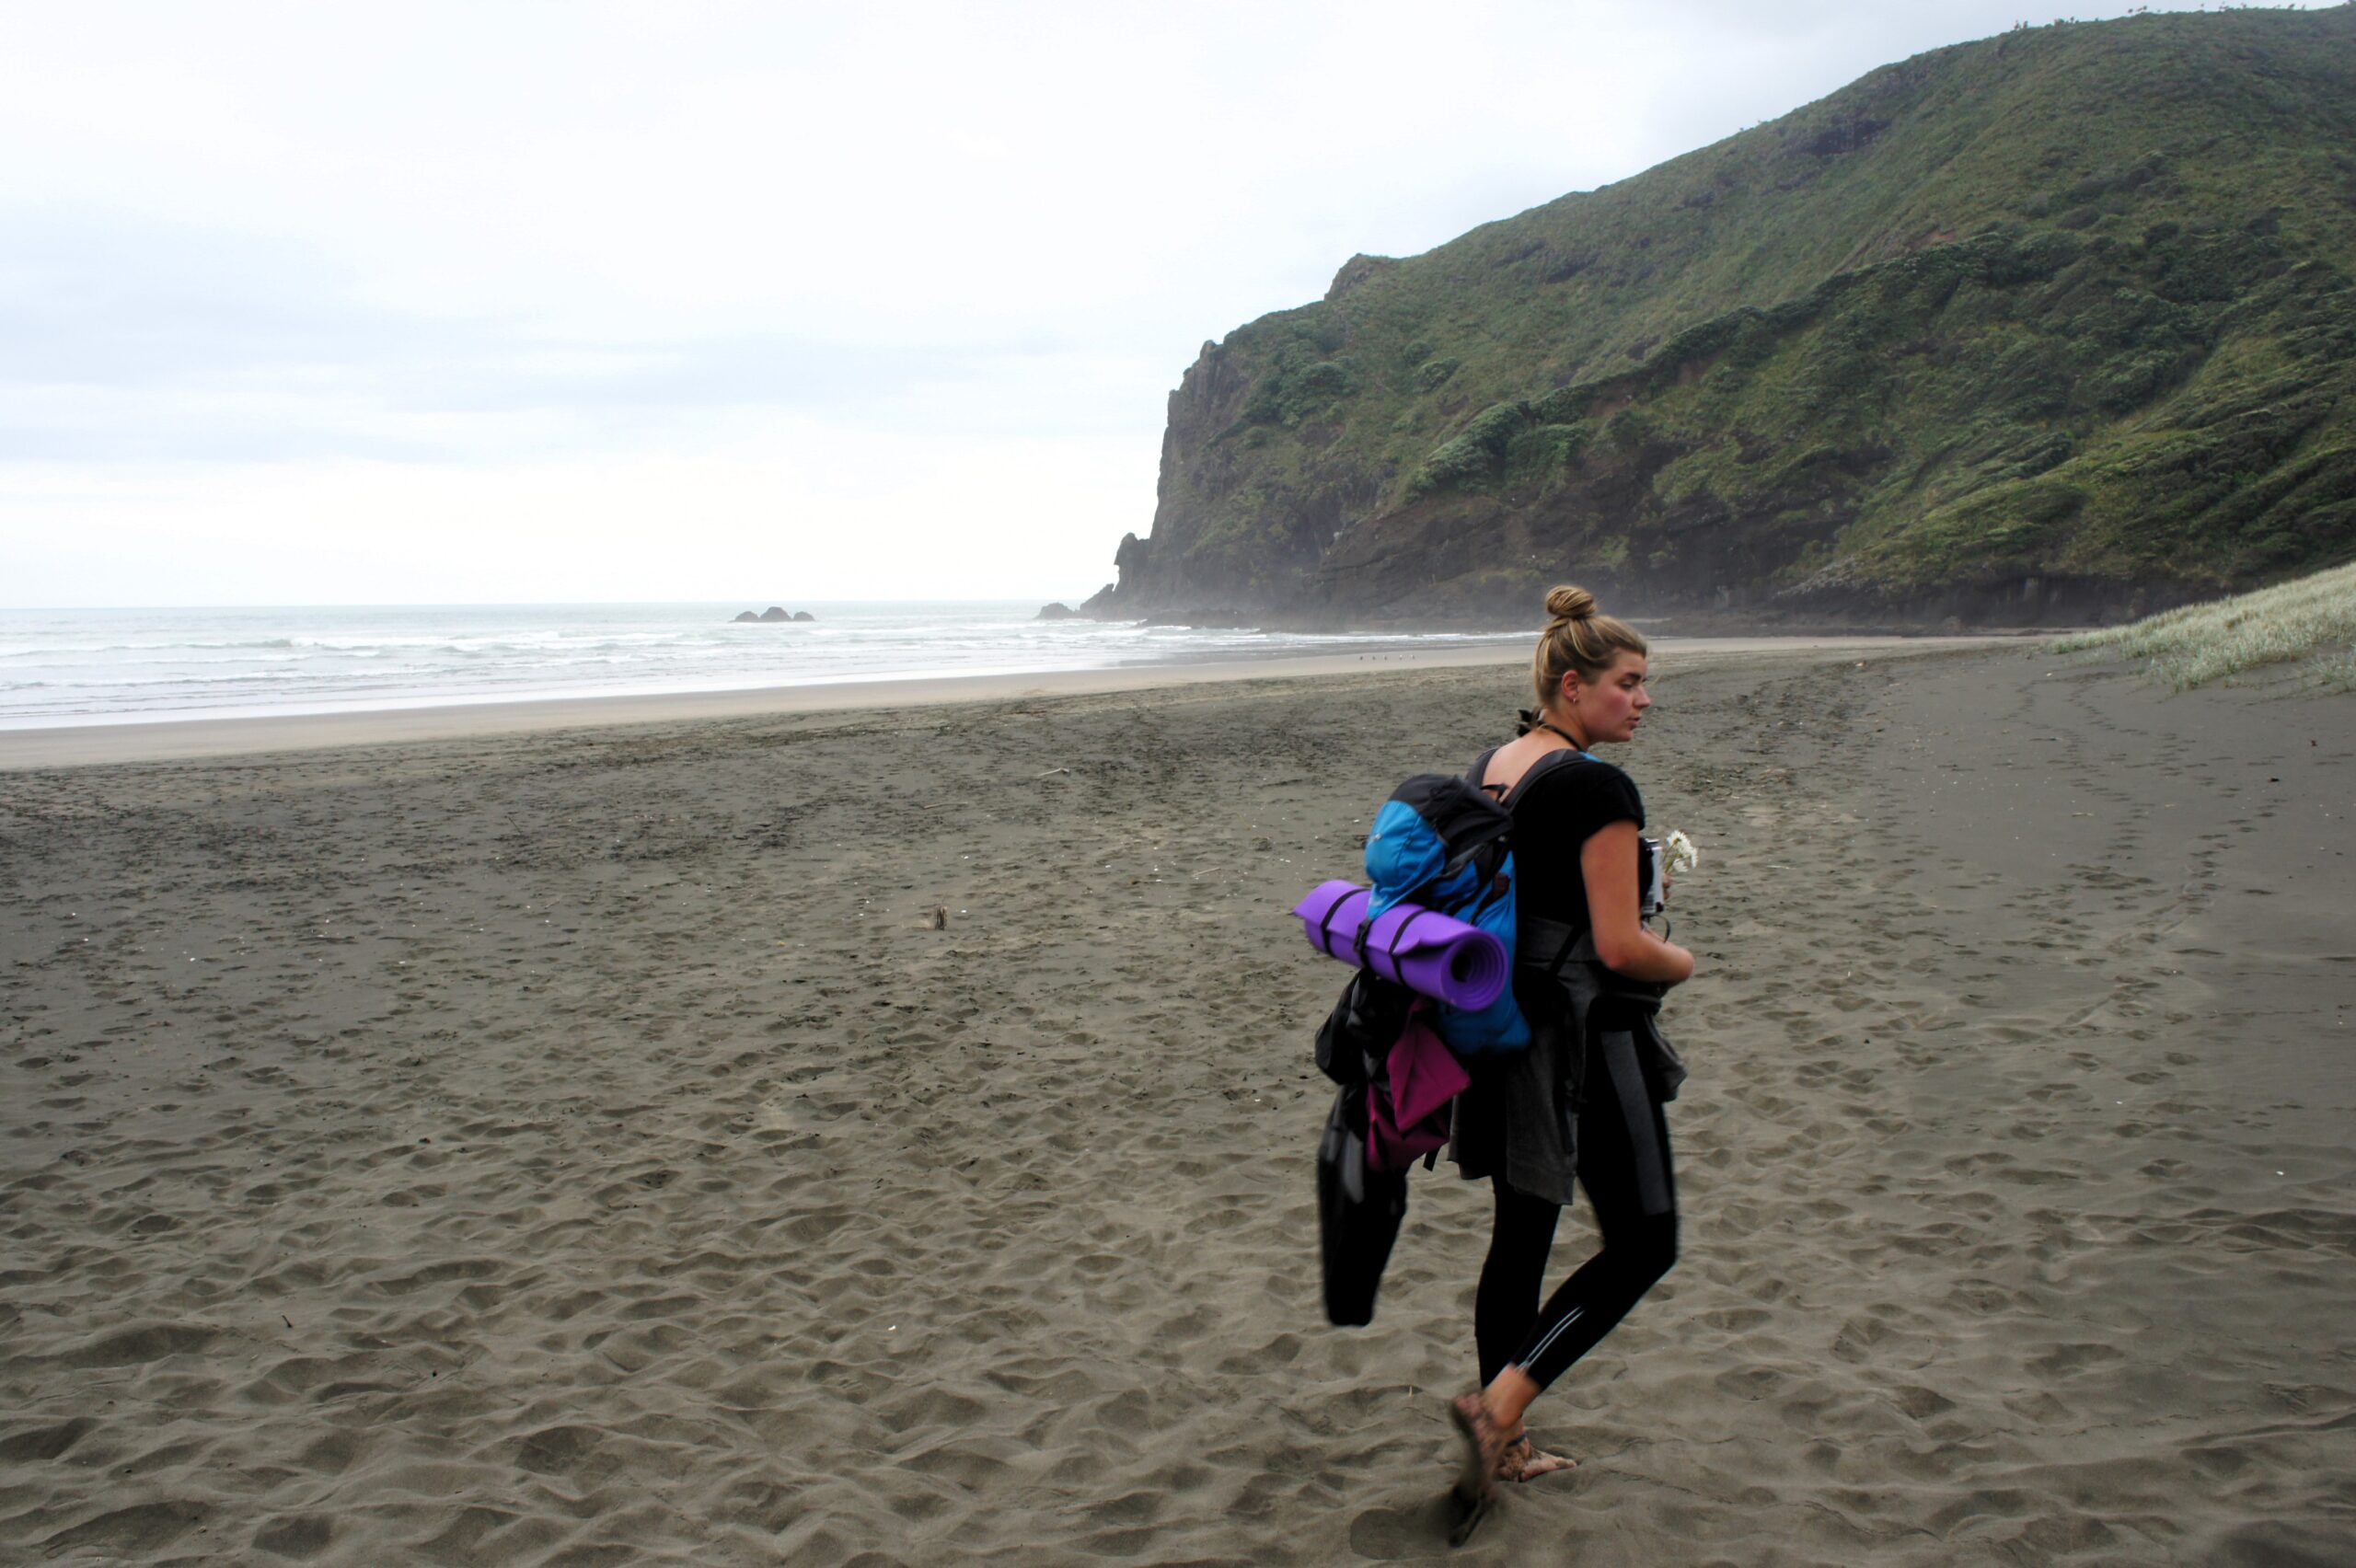
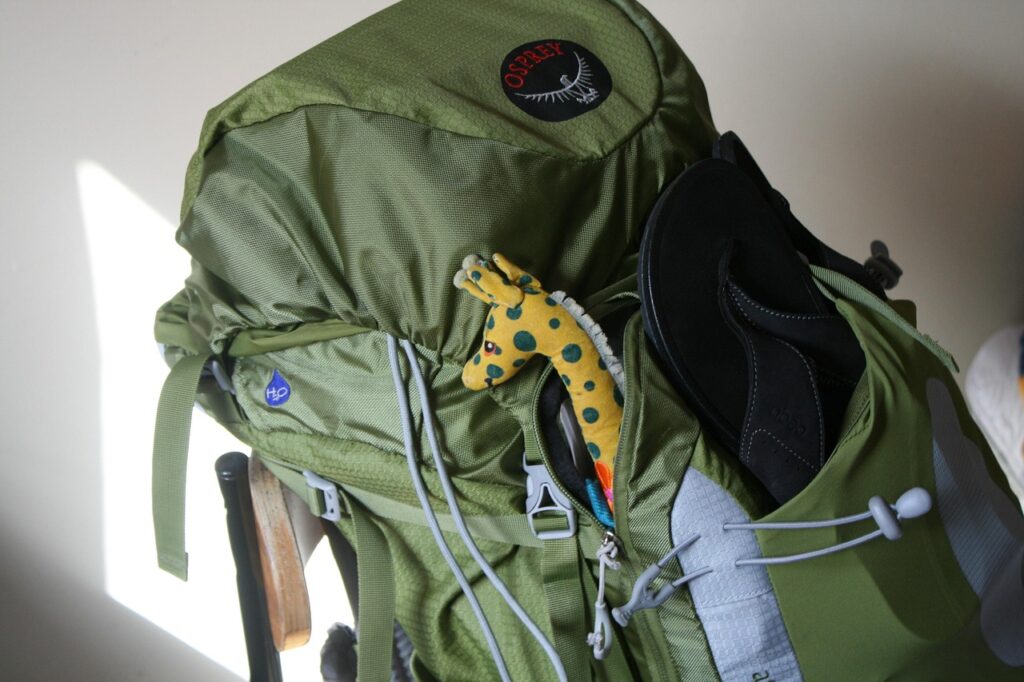
Year-round essentials for backpacking New Zealand
- Sturdy hiking shoes—with good quality tread, like Vibram.
- Waterproof jacket—Kathmandu is a Kiwi staple and they have great deals!
- Sun protection (NZ UV can be fierce)—don’t be one of those beetroot faces that just landed. You ain’t never seen sun like this before.
- Reusable water bottle
- Insect repellent in the summer and shoulder seasons (especially coastal bush areas)—you’ll be happy to know there’s a healthy population of mosquitoes and sandflies.
- Anti-theft daypack and padlock—keep your items secure on the go and in the hostel.
- Small dry bag for electronics
🔥 Pro tip: Double warning incoming. Treat the sun seriously—UV is intense here even on cloudy days, even in the shoulder seasons. Slip, slop, slap (shirt, sunscreen, hat).
Choosing your destinations (North vs South)
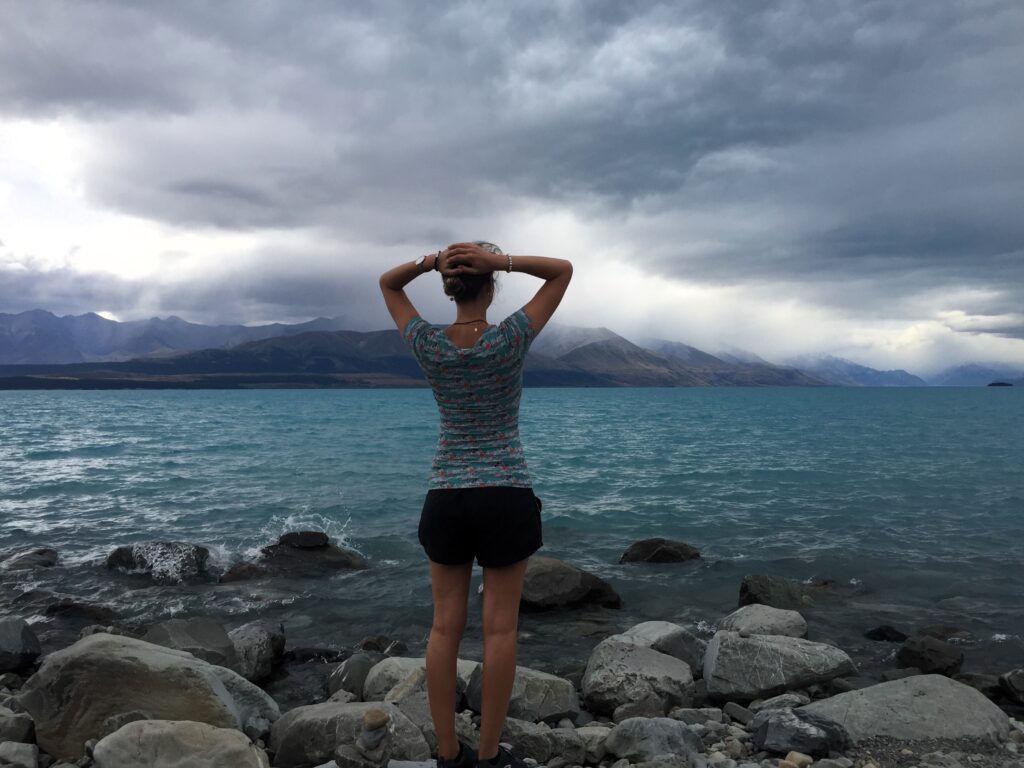
New Zealand splits into two main islands with distinct vibes. It might look small on a map, but trust us—there’s a lot to explore.
The North Island is all about Māori culture, endless coastlines, and natural wonders. Think buzzing cities like Auckland and Wellington, epic surf spots, and the magic of Rotorua’s geothermal springs.
The South Island? Pure adventure. Towering mountains, glacier hikes, and bucket list activities make it a dream destination to backpack.
If you’ve got time, do both—but if you’re short on days, decide whether you’re chasing laid-back vibes, beautiful beaches, and culture or jaw-dropping landscapes and epic thrills. Either way, you’re in for an unforgettable trip—choose based on your travel style.
Here are our highlights for both islands:
North Island highlights
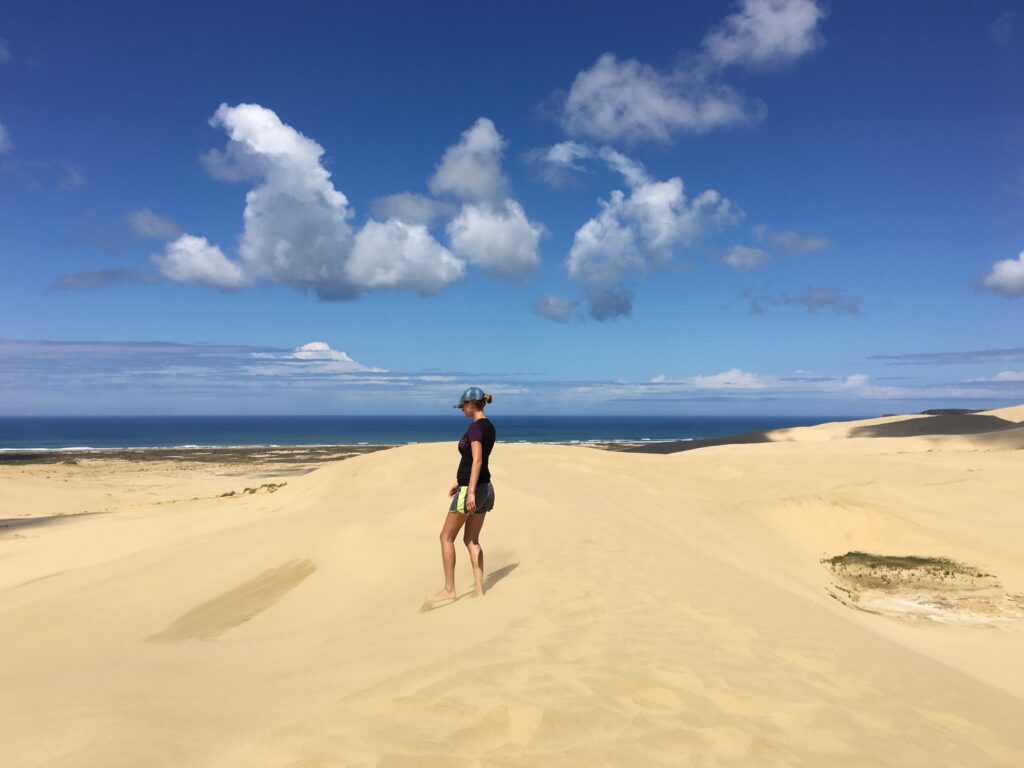
- Cape Reinga: Lighthouse Walk, Sandboarding at Te Paki, Spirits Bay, Rarawa Beach.
- Bay of Islands: Hole in the Rock Cruise, Waitangi Treaty Grounds, Flagstaff Hill.
- Auckland: Te Henga / Bethells Beach, Auckland Bridge Bungy, Waiheke Island.
- Coromandel: Pinnacles Walk, New Chums Beach, Cathedral Cove, Hot Water Beach.
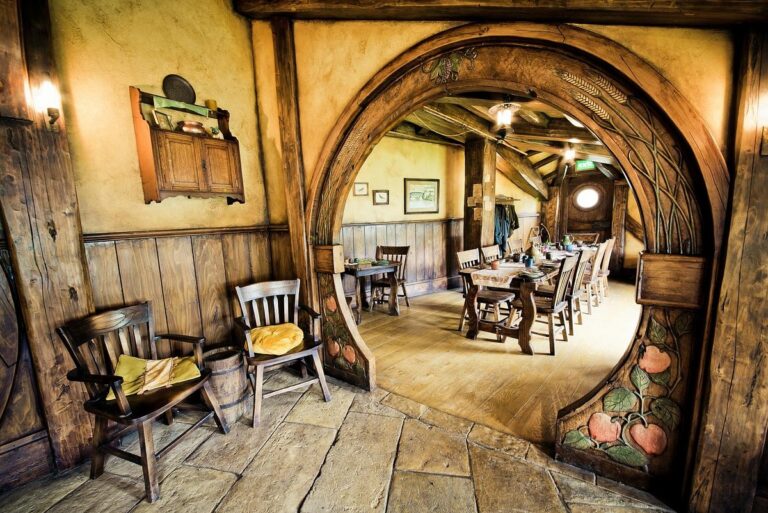
- Hobbiton Movie Set: Bag End and Hobbit Holes, The Green Dragon Inn.
- Waitomo: Waitomo Glowworm Caves, Black Water Rafting.
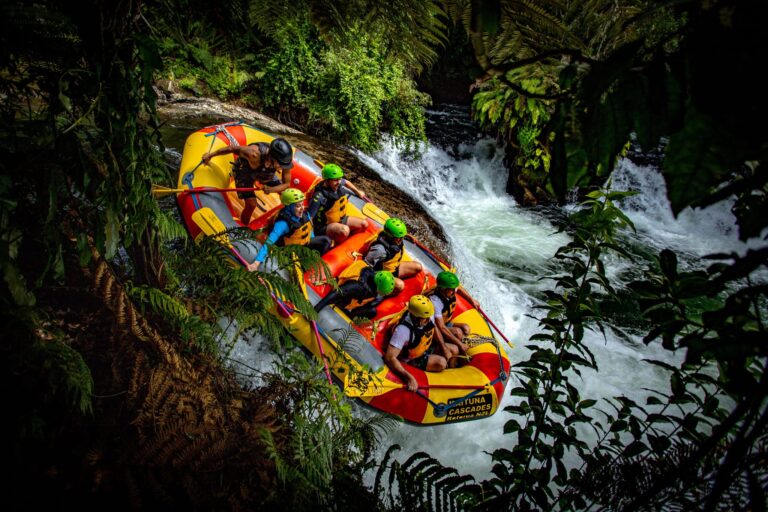
- Rotorua: Wai-O-Tapu Thermal Wonderland, Mitai Māori Village, Kaituna Cascades.
- Taupō: Huka Falls, Craters of the Moon.
- Tongariro National Park: The Tongariro Alpine Crossing.
- Wellington: Wētā Workshop, Zealandia, Putangirua Pinnacles.
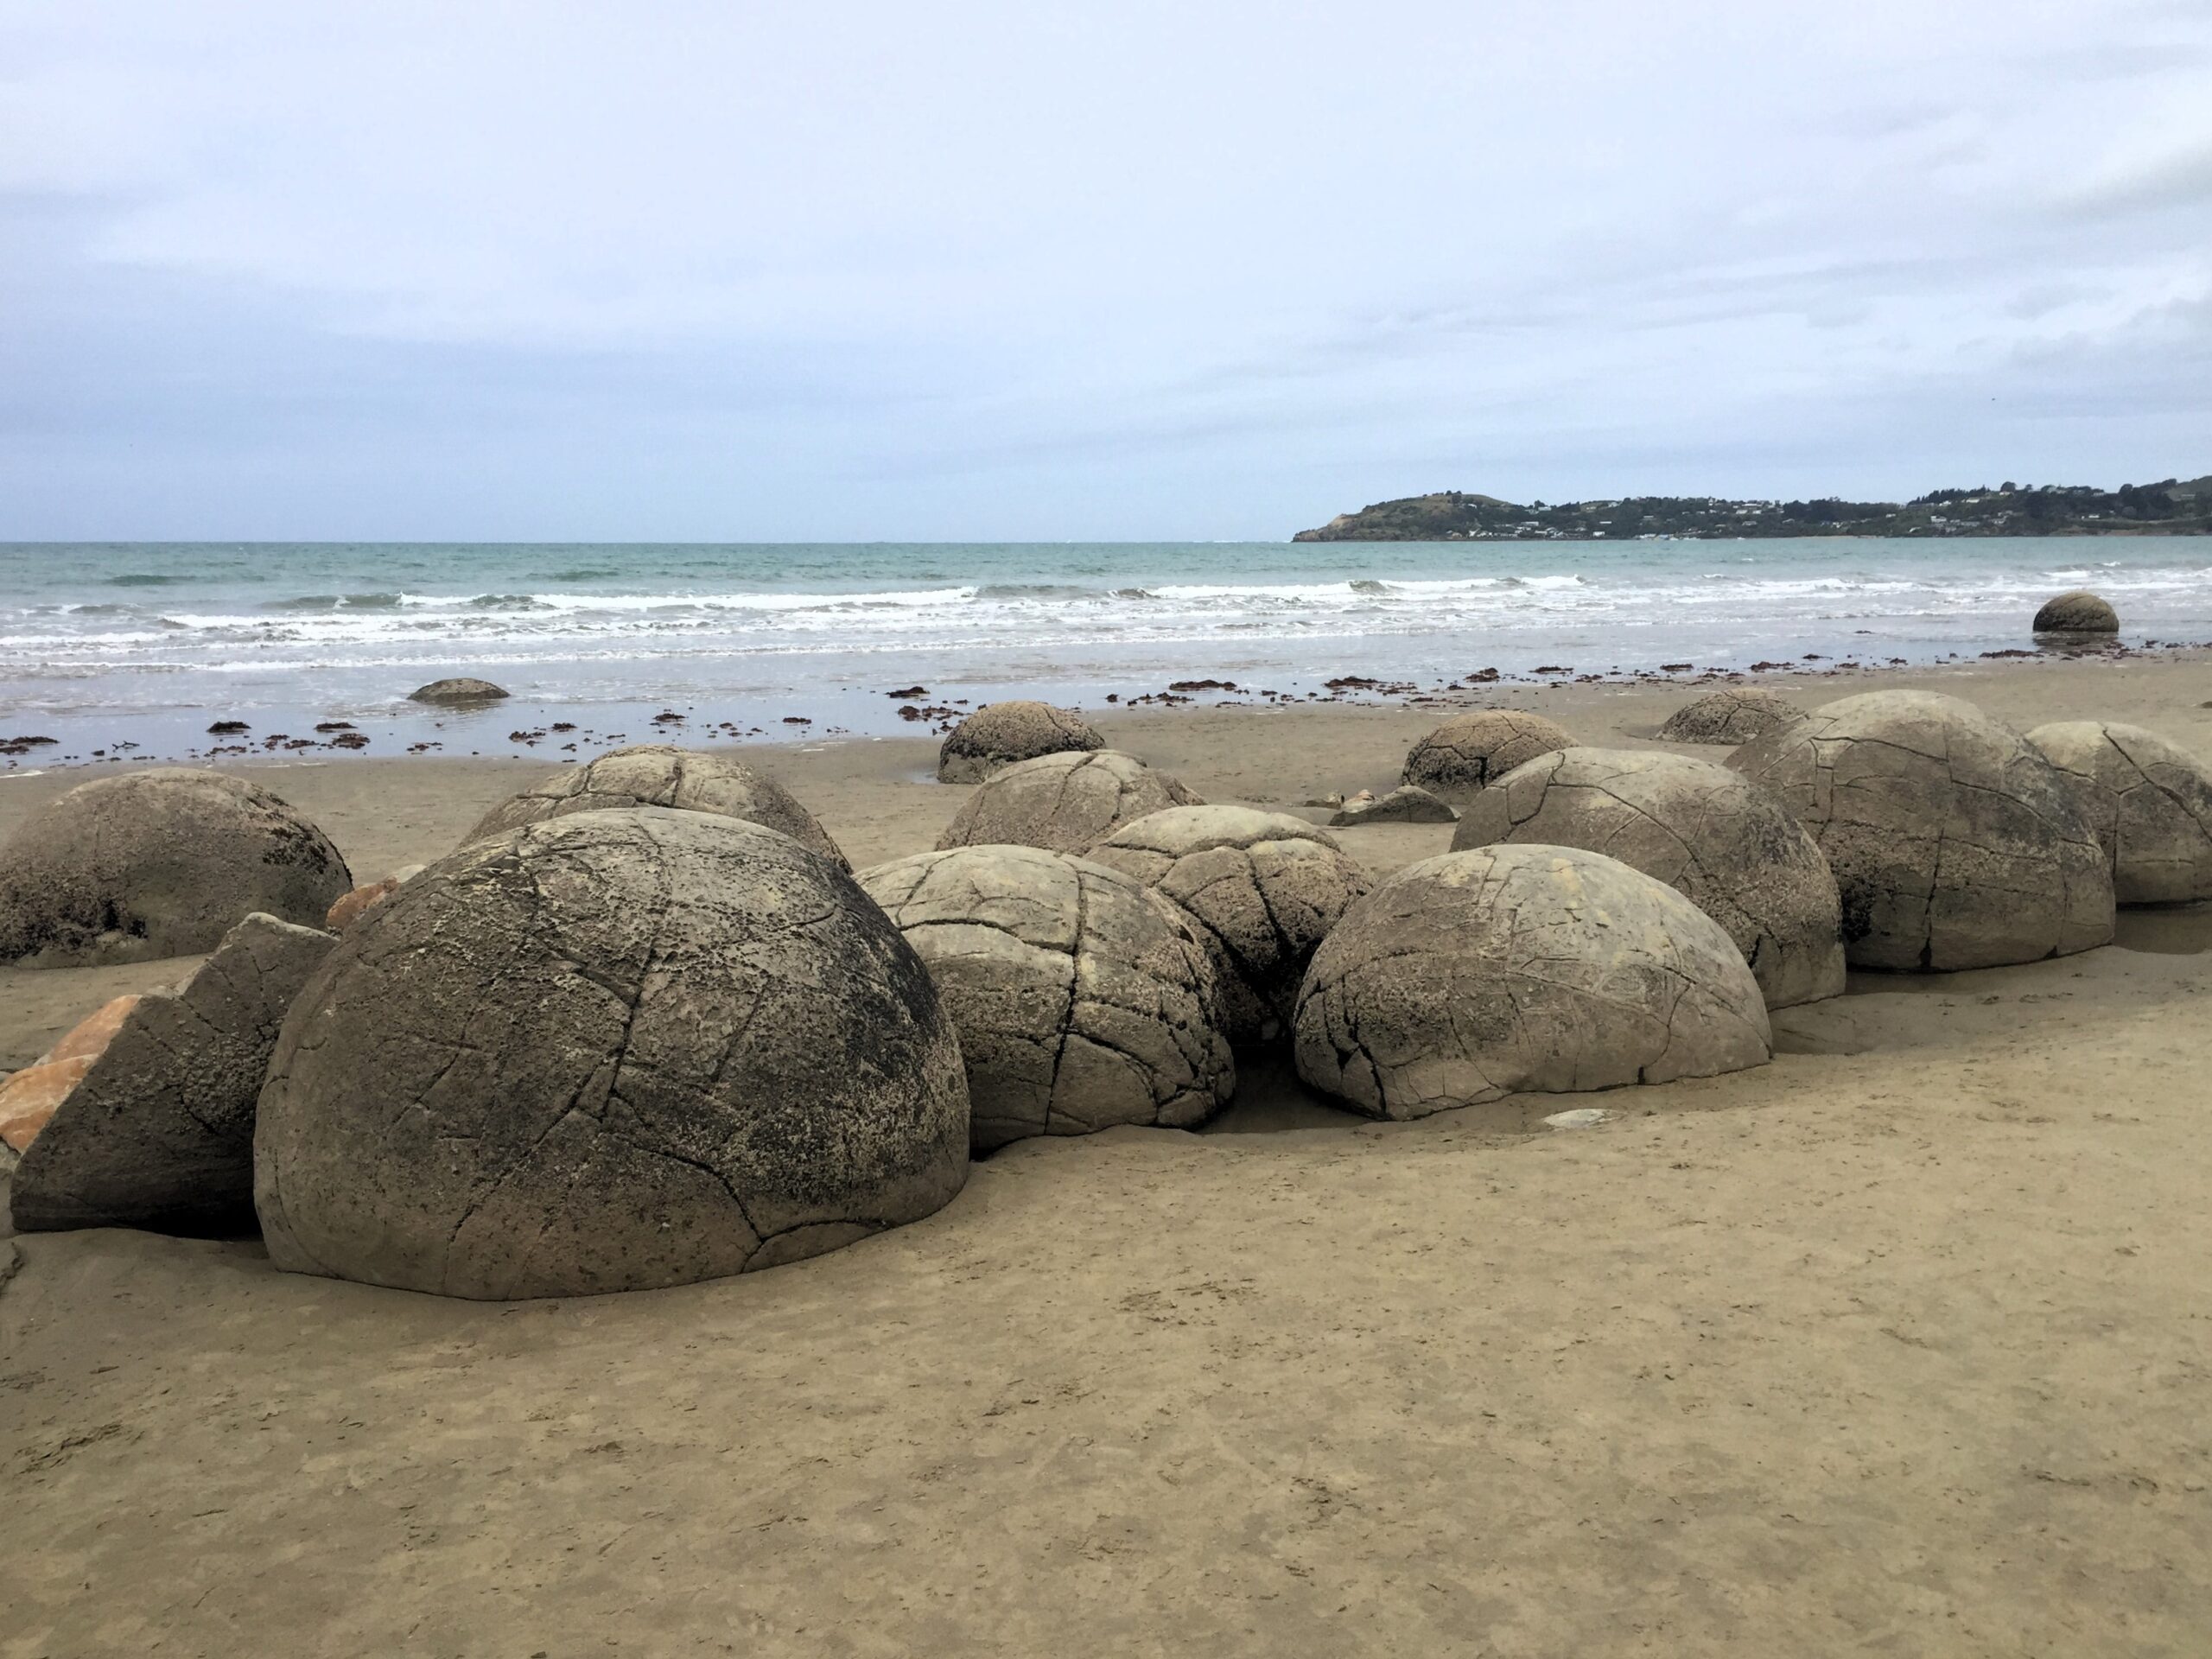
South Island highlights
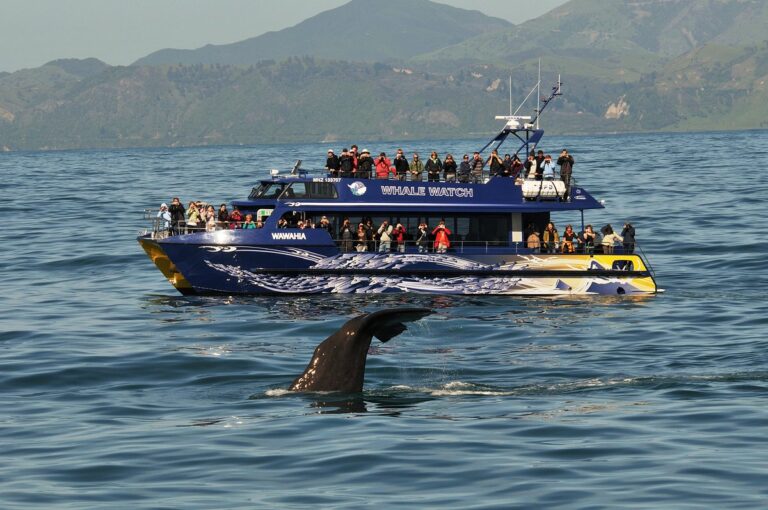
- Kaikōura: Whale Watch Kaikōura, Swimming with Dolphins.
- Lake Tekapo: The Church of the Good Shepherd, Tekapo Springs and Stargazing.
- Aoraki / Mount Cook: Lake Pukaki, Hooker Valley Track, Dark Sky Reserve.
- Wānaka: Roys Peak Track, Wānaka Paragliding, That Wānaka Tree.
- Mount Aspiring National Park: Rob Roy Glacier, Shotover Saddle Route.
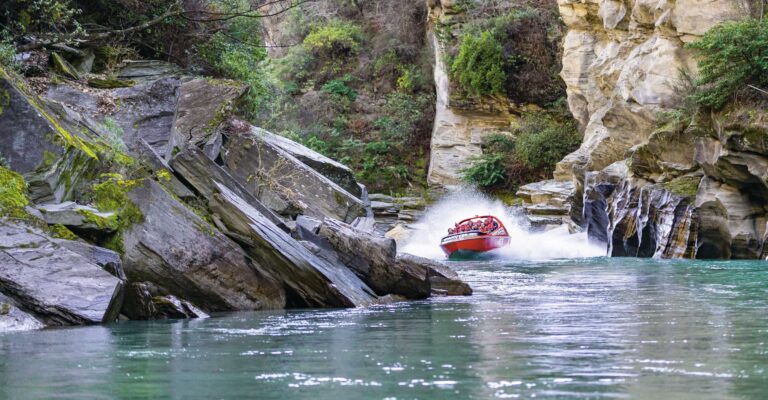
- Queenstown: Dart River Adventures, Shotover Canyon Swing, Arrowtown, Bob’s Peak.
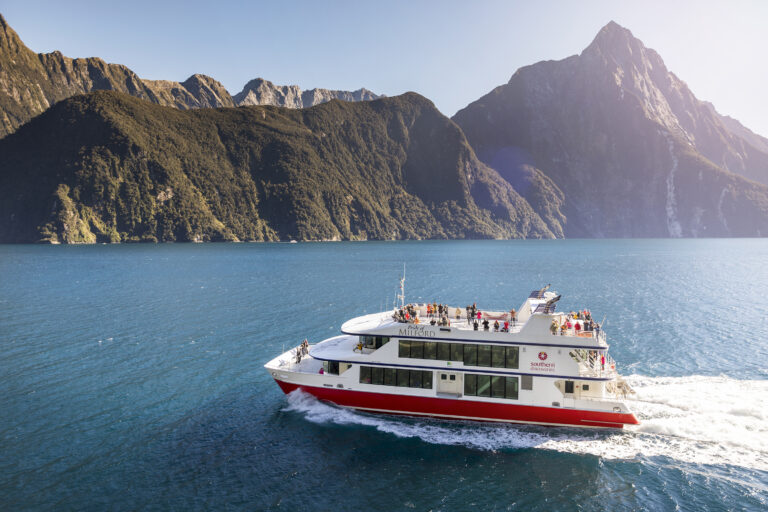
- Fiordland National Park: Milford Sound or Doubtful Sound Cruise, Lake Marian.
- Franz Josef: Glacier Heli-Hike, Canavans Knob Walk, Waiho Hot Tubs.
- Abel Tasman: Abel Tasman Kayaks, Split Apple Rock, Abel Tasman Coast Track.
- Golden Bay: Wharariki Beach, Pūponga Hilltop Walk, Farewell Spit.
👉🏼 To dig deeper into all the best spots—check out our North Island and South Island travel guides.
🧭 Pro tip: If your schedule and budget allows—aim to travel the South Island from late January when the weather is warmest and holiday crowds are fewer. This way you can start or finish with the North Island—the shoulder seasons are still warm here and you’ll find better deals.
Sample itineraries for backpacking New Zealand (mix and match)
Based on our highlights from the previous section—use the following itineraries as starting points; swap in destinations that fit your vibe.
North Island focus: 10-15+ days
– Northern explorer –
Auckland → Bay of Islands → Cape Reinga → Auckland
Allow 5+ nights (including Auckland) / Optional: Hokianga, Tāne Mahuta, Kai Iwi Lakes (via West Coast)
– North Island highlights –
Auckland → Coromandel → Hobbiton Movie Set → Rotorua → Taupō → Tongariro National Park → Wellington
Allow 10+ nights (including Wellington) / Optional: Waitomo
South Island focus: 10-24+ days
– West Coast and Southern Lakes –
Wellington → Abel Tasman → Golden Bay → Franz Josef → Wānaka → Mount Aspiring National Park → Queenstown
Allow 12+ nights (including Queenstown)
– Fiordland, Southern Alps and Lakes –
Queenstown → Fiordland National Park → Queenstown → Aoraki / Mount Cook → Lake Tekapo → Christchurch
Allow 10+ nights (including Queenstown) / Optional: Kaikōura
– Southern Alps and Lakes –
Wellington → Kaikōura → Christchurch → Lake Tekapo → Aoraki / Mount Cook → Wānaka → Mount Aspiring National Park → Queenstown
Allow 10+ nights (including Queenstown)
– Fiordland, Southern Lakes and West Coast –
Queenstown → Fiordland National Park → Queenstown → Wānaka → Mount Aspiring National Park → Franz Josef → Abel Tasman → Golden Bay → Wellington
Allow 14+ nights (including Queenstown)
🗺️ Pro tip: For campervan rental, consider south-to-north routes to score better deals and fewer one-way fees—supply/demand often favours returning vehicles northbound. You’ll also find more relocations heading north.
Getting around: Buses, tours, travelmates, campervans, and relocations
Now that you’ve planned your dream backpacking route through New Zealand the time has come to choose how you’ll travel.
It’ll come down to how much flexibility you want vs what your budget allows.
Let’s take a look at the options—mix and match based on budget, time, and social energy.
Hop-on hop-off backpacker buses
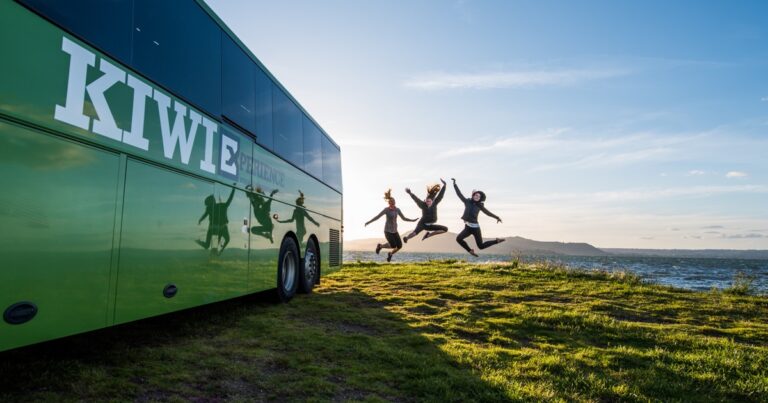
Tour operators like Kiwi Experience and Stray Travel are flexible and social—letting you travel at your own pace with a fun group of travelmates. With a hop-on hop-off pass you can pick your destinations and stay as little or as long as you like. They include guided routes and stops at iconic spots and highlights.
Stays are not included with Hop on hop off passes—to allow for maximum flexibility. However, you can add-on optional accommodation. For example, use the Kiwi Experience Trip Planner to book your stays 2+ days before arrival at your destination. You can also use it to book activities in advance or on the go.
👍🏼 Best for: A hop-on hop-off pass is a good choice if you want to be part of a guided tour, but maintain flexibility with your stays and activities. Choose a pass that fits your itinerary and travel style.
New Zealand backpacking tours
Booking a classic backpacker tour essentially means all the planning is done for you. This usually includes all transport, accommodation, some meals, and even activities. You simply show up and let your tour guide handle the rest. The drawback is that the itinerary is fixed—meaning limited flexibility.
If you’d rather have more flexibility and still enjoy a guided experience, a hop-on hop-off pass is a better fit.
👍🏼 Best for: Backpacker tours are a good option if you want everything taken care of—so you don’t have to do any planning.
Popular tour operators include:
👉🏼 Need help picking the perfect tour for you? Check out our guide to the 6 best New Zealand backpacking tours.
InterCity (national bus network)
If you prefer point‑to‑point travel, InterCity serves 600+ towns with flexible passes. The FlexiPass is a pre-paid hours-based pass designed for backpackers that includes travel on buses, the InterIslander ferry, and some day tours. It’s affordable, reliable, and covers both islands—including many highlights.
InterCity is a good option for flexibility (with most major routes covered) and of course it’s cheaper than booking a tour or hiring a campervan. Having said that—it’s worth considering ridesharing with travelmates. Sharing the fuel cost for the actual distance you travel is often cheaper than travelling solo with InterCity.
They also offer backpacker discounts when you have a valid ID card (ISIC, Hostelling, etc.). Refer to their website for more information.
👍🏼 Best for: A budget-friendly option with good flexibility.
Travelmates and ridesharing
We’ve had many travelmates on our backpacking adventures in New Zealand, sharing the journey with others enriches your experience and can even be life-changing. It can also save you money.
In fact, the more travelmates you have, generally the more you’ll save—think splitting costs multiple ways. You can share fuel, rental costs, private rooms, food, and even get group discounts on activities.
Connecting with travelmates that fit your vibe is key. If you’re going to be travelling together non-stop you want to make sure of this. Otherwise you could be in for an awkward experience—we know some stories! You’ll need to decide on things to do, routes, etc, so make sure you’re aligned on these.
There are various different ways to meet travelmates. One old-school method is to use Facebook Groups. Using the app, search for things like “Backpacking New Zealand”. You can either make a post yourself, or respond to others (always exercise careful judgement). Otherwise, it can be as simple as meeting someone you vibe with on a tour or in a hostel.
If you choose carefully, your backpacking experience will be even better and you’ll end up with lifelong friends and memories. Just ask us—we’ve got friends all over the world who started out as travelmates. Plus—you’ll save money!
👍🏼 Best for: Good flexibility—think off-grid highlights, travelling together at your own pace. Shared costs—equals more money saved.
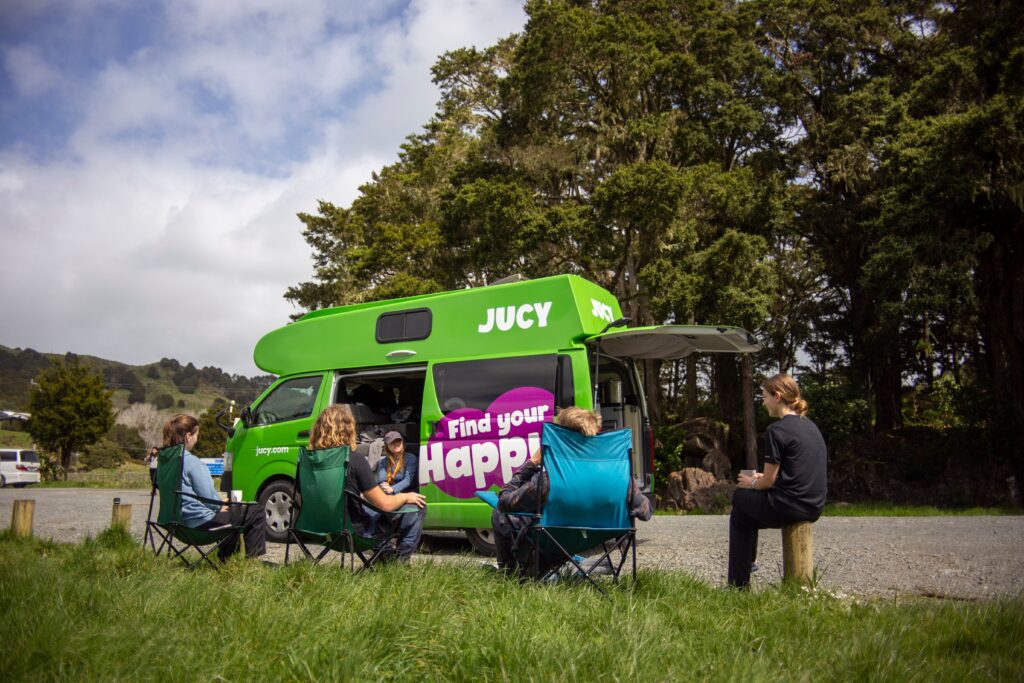
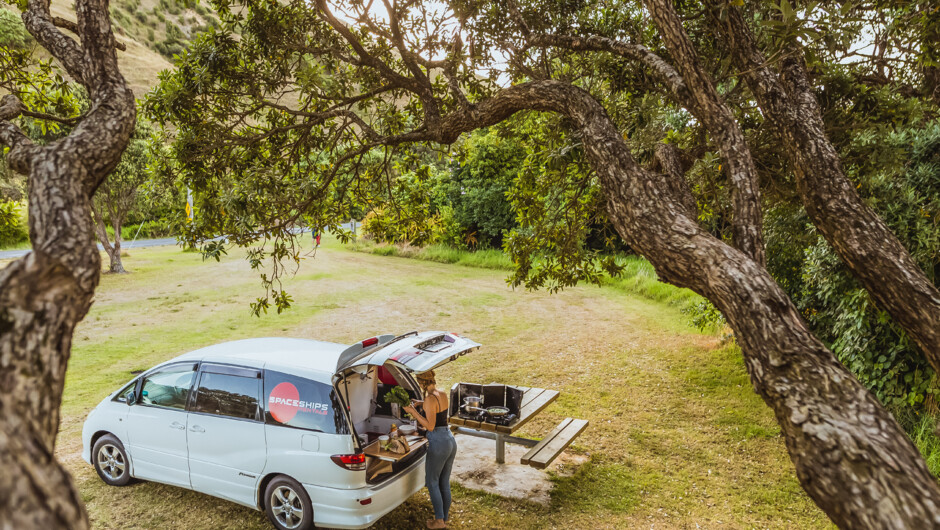
Campervan rentals
The classic Kiwi experience: total freedom, access to remote sites, and sunrise coffee wherever you park (legally).
It’s hard to beat the pure freedom of the open road—New Zealand does campervan road trips like no other country. This is the ultimate destination to live your best van life. Renting a campervan is a good flexible option for campsites, routes, and hidden gems.
With so many campervan rental companies to choose from. Where the hell do you start?! Seriously—we see a new one cruising by like every day.
We recommend you compare deals, factor in ferry costs between islands, and book early for summer. It’s near-impossible to find a discount if you’re travelling in peak season (Christmas to January)—so aim to book as early as you can.
Options wise—you could rent a 2-person camper and split the cost with a travelmate, or go for a 4-person camper with more travelmates. However, often times you won’t notice much difference in your share of the rental cost—whether you travel with 1 or 3 people. The bigger the camper—the higher the rental cost.
Keep in mind that renting a self-contained campervan gives you much more flexibility with free campsites—meaning money saved on accommodation.
👍🏼 Best for: Renting a campervan means you’ll have the flexibility to explore at your own pace, as well as save money on stays, and potentially share trip costs with travelmates. Certified self-contained options offer an abundance of freedom camping spots.
Popular rentals include:
👉🏼 Need help picking the perfect camper for your trip? Find out which campervan fits your route and budget.
Campervan relocations (budget hack!)
Relocation platforms let you drive vehicles for $1 a day or even free, often with fuel or ferry perks included. Check Transfercar first, plus brand-specific relocation pages (e.g., JUCY deals). Imoova is another option, they charge a non-refundable booking fee of NZD $49 when you book a relocation. Availability changes daily, so stay flexible.
Relocations are usually one-way and time‑bound. The vehicle may be listed for use for anywhere from a few days to 10+. Build buffer days and don’t plan your whole trip around them unless you’re totally flexible with time—use them for a leg you’d pay most for otherwise.
Relocating campervans and cars is one of the best budget hacks for backpacking New Zealand. We did an entire trip from north to south and back again with relocations (with just one short bus ride). Without doing the math—this actually saved us well over NZD $1,000.
Keep in mind that relocations can start from anywhere there’s a depot, but there are often far more going northbound.
👍🏼 Best for: Relocations are a fairly flexible travel option and can save you some serious dollars.
Buy a campervan
Buying a campervan could save you a lot of money vs renting one, depending on how long you’re planning to travel. Leave yourself enough room to sell it at the end of your trip—and keep in mind it’s a buyer’s market at the end of the season.
The number 1 rule, if you’re buying privately—book an AA Pre Purchase Inspection. This comprehensive 100+ point vehicle check is performed by an experienced mechanic (taking approx. 90 minutes). It costs NZD $229—but could save you big time. If nothing’s wrong with the vehicle you’ll have peace of mind knowing you’re purchasing a quality ride.
The best time to buy is late summer to early autumn—from about March, when supply outweighs demand. Handy if you’re arriving on a WHV, but not so much if you want to start your trip for summer. Peak season (December–February) creates high demand and inflated prices—so take your time to look around.
Browse Trade Me—for the largest collection of online vehicles in New Zealand.
Consider buying a certified self-contained ride—they usually cost more, but offer better flexibility with freedom camping (saving you money).
If you can—avoid selling at the end of season as demand drops and resale becomes harder. The best time to sell would be about October through to January.
👍🏼 Best for: Longer trips and those on a WHV. If you play your cards right when you sell, you could end up making your money back. Plus, you’ll have maximum freedom and flexibility with your own ride!
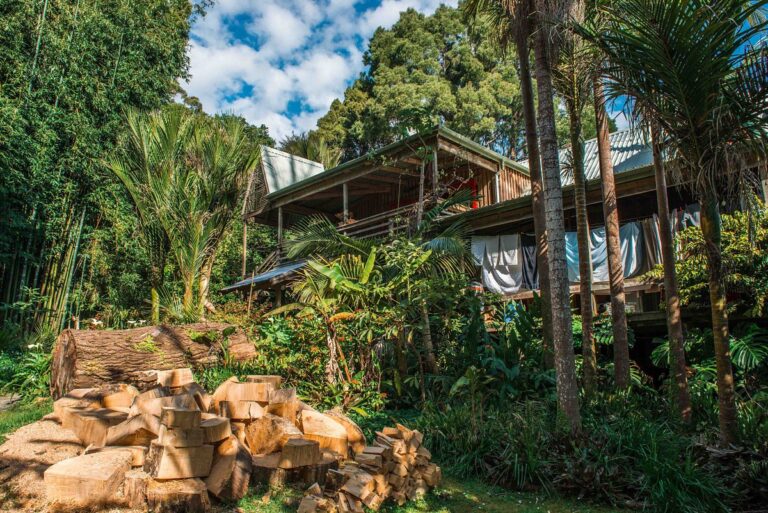
Where to sleep: Hostels, huts, and camping

New Zealand has an abundance of accommodation options for backpackers. This means there’s no excuse to settle for just anywhere to crash—unless you’re desperate or on a micro budget (sometimes both). Camping is always the cheaper way to go, and there are plenty of free to low-cost campsites around.
Depending on the destination, prices usually fluctuate with the seasons. Places like Paihia and Ohakune are very seasonal—where rates per night match demand. In winter, you’ll often find better deals at hostels and campgrounds (excluding ski towns). Having said that, if you’re staying in an area with fewer options rates tend to be the same year-round.
🛏️ Pro tip: Try to avoid staying at hostels for long periods in places like Queenstown—they’ll eat up your budget fast.
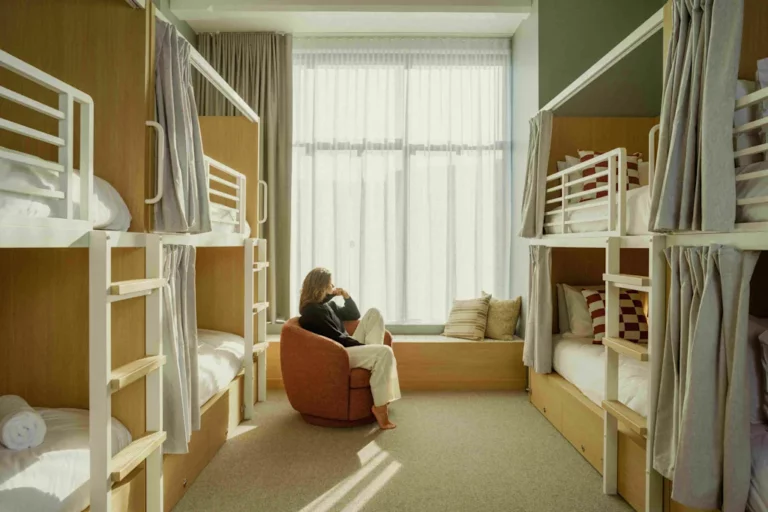
Hostels (backpackers)
Dorms typically run from NZD $30–$50 per night; private rooms NZD $80+. Remember to factor in things like travelmates—sharing the cost of a private room may be a good option. Most hostels offer well-equipped kitchens, laundry, and social spaces, and good WiFi is the standard these days.
👉🏼 Wanna stay somewhere epic? Check out our 10 best hostels in New Zealand for 2026. 🤫
🧹 Pro tip: Many hostels offer work-for-accommodation ops if you’re on a WHV—generally 10-20 hours per week of cleaning and housekeeping in exchange for a dorm bed. They’re usually short term, and a handy way to save some money (especially in pricey places). Have a chat to reception.
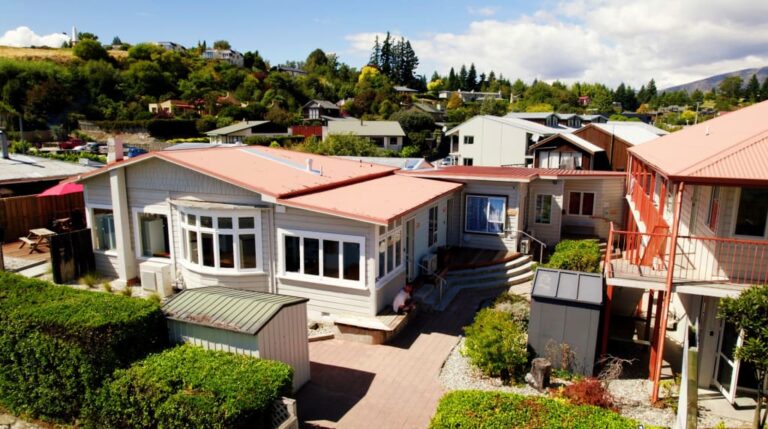
Campgrounds and holiday parks
These are a staple on your backpacking trip and you can find them almost everywhere—especially in coastal areas. You’re looking at about NZD $20-30 per night (per person). Kitchens are sometimes a little more basic than a hostel, but often just as well-equipped. Check for things like free showers (they can be a few dollars extra).
The best thing about staying at a campground or holiday park is usually the location and surrounding scenery. Many of them are situated right next to the beach—so you can wake up to ocean views, with the sand just metres away. It’s hard to beat that feeling of freedom you get (while still having access to facilities).
DOC huts and campsites

New Zealand’s Department of Conservation (DOC) manages an incredible hut and campsite system. For Great Walks (Milford, Routeburn, Abel Tasman, etc.) and popular areas, you must book huts or campsites in advance—dates can sell out fast. However, the majority of DOC huts are non-bookable and operate on a first-come, first-served basis.
General backcountry huts range from basic to serviced (free to NZD $25 per night). While certain popular and serviced alpine huts are individually priced (NZD $10-55+ per night). Some huts have higher weekend rates. Check out the DOC hut network for the full range.
DOC also offers more than 300 campsites throughout New Zealand. These fall into three categories: Basic (free), Standard (NZD $10-20 per night), and Serviced (NZD $20-28 per night). The main difference being facilities. They’re generally a cheaper option than hostels and holiday parks, and often in stunning locations.
Staying at DOC huts and campsites is what backpacking New Zealand is all about—waking up in pure nature. Embrace the shower if it’s cold!
🏕️ Pro tip: Consider buying a DOC Campsite Pass—these are valid for 1 year and cost NZD $295.
Working while you travel (WHV): Jobs, IRD, and bank setup

We have a simple philosophy when it comes to working and travelling. First—choose a destination that you vibe with. Second—choose a job there.
If you’re backpacking New Zealand on a Working Holiday Visa, topping up funds along the way is straightforward when you know the essentials.
👉🏼 For all you need to know—see our New Zealand backpacker jobs guide for the following:
- Working legally as a backpacker
- Getting your IRD number
- How to open a bank account
- Types of backpacker jobs
- Key destinations and seasons
- How to find backpacker jobs
- + heaps more to help you find the perfect work experience.
Backpacker job types and where to find work
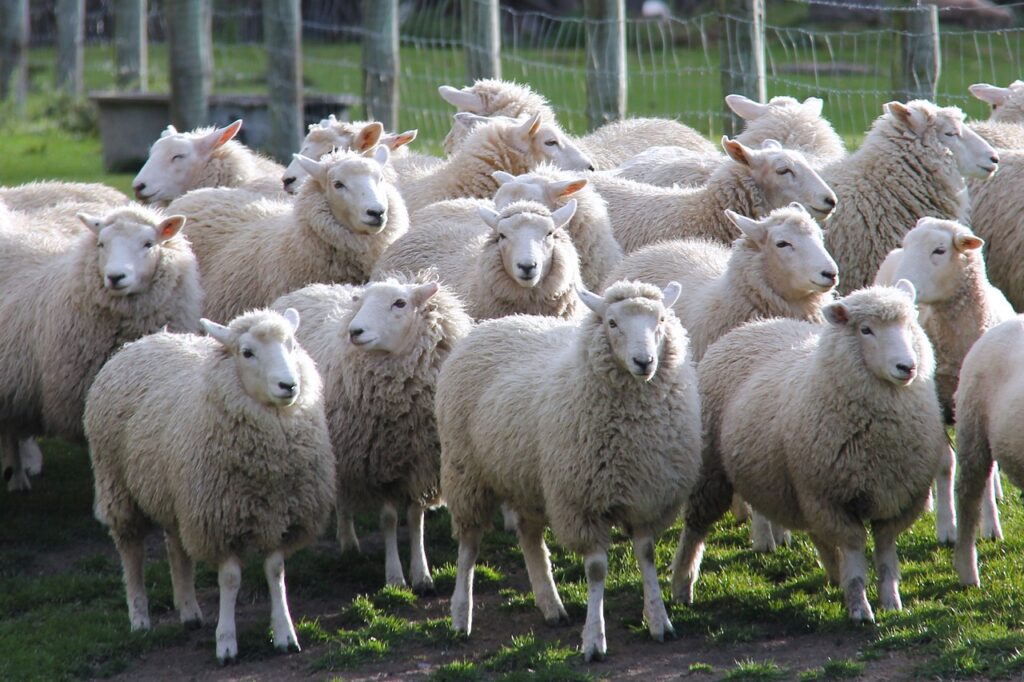
There are different types of jobs available year-round, depending on the destination. Expect seasonal farm and orchard work, hospitality roles, hostel gigs, ski-field jobs, au pair positions, and casual labour.
Farm work is often physically demanding, but sometimes pays by the bin (e.g., how much you actually pick). Whereas hospitality is better suited to those who enjoy plenty of social contact and varied hours.
Online job boards are an easy place to start—visit websites like Pick NZ and Seek. If you’re staying at a hostel, have a chat to the staff, they’re often connected to local employers. One of the best ways to find work (and the quickest) is to visit the place of business. We’ve scored jobs by simply walking in.
Work exchange (stay included)
Platforms like Workaway connect you with Kiwi families, farms, and NGOs for volunteer exchanges—typically a few hours per week for food and a bed. WWOOF‑style opportunities are common throughout the country. These are a great way to immerse yourself in the local culture, and they enrich your backpacking experience in New Zealand.
Hostels and campgrounds often employ backpackers for cleaning and housekeeping, and even managerial roles. Working for your bed is common practice and easy to sort (especially in peak season). Opportunities are sometimes listed online, but quite often the best way is to speak to the staff directly. You’ll normally work a few hours per week in exchange for your bed, sometimes with the possibility of additional paid hours.
Get your IRD number (tax ID)
Once you arrive, apply for an IRD number (you can also apply from your home country). You must have this magical number to work legally in New Zealand. Your employer will ask for it before you start working. Visit the IRD website to apply now.
Setup your bank account
Once you’ve sorted your IRD number, you’ll need to open a New Zealand bank account—so you can actually get paid by your employer. Most employers pay weekly or fortnightly by direct credit to your bank account. Our personal bank of choice is ASB. We’ve been with them for awhile and highly recommend their service.
🧾 Pro tip: Apply for your IRD number first—then open your bank account. Without an IRD number, you’ll be taxed at the non-declaration rate of 45%—yeah, nah.

Stay safe and travel smart
Stick around—we’ve come up with a few handy tweaks to make your backpacking journey smoother and safer. 😎
Our top tips for staying safe
Backpacking New Zealand is generally safe, but smart habits go a long way towards keeping your trip stress-free. Here are our practical safety tips every backpacker should follow:
- Inform friends and family
Best practice—share your itinerary and check in regularly. Even if plans change (and they will), a quick message helps someone know where you are. - Research places in advance
Look up local conditions, weather alerts, and any regional restrictions. Remote areas can have limited services—planning ahead avoids surprises. - Avoid walking alone at night
Stick to well-lit areas and avoid isolated streets and spaces after dark. New Zealand cities are safe compared to many places, but caution is always smart. Especially in bigger urban centres like Auckland. - Meet other backpackers and stay in groups
Join hostel activities, group tours, or backpacker groups. Travelling in pairs or small groups adds security and makes adventures more fun. - Keep valuables secure
Get yourself a quality padlock. Use hostel lockers for passports and electronics. Carry a small anti-theft daypack with essentials and avoid flashing expensive gear. - Stay weather-aware
Conditions can change fast, especially in alpine regions. Check the MetService (they have a handy app) and DOC alerts before hikes. We can’t stress this enough—ensure conditions are safe before you hike. Always tell someone your route on longer tramps. - Pack a personal locator beacon (PLB)
For the ultimate insurance—pack a PLB for remote hikes. They’re not cheap, but they save lives. - Know emergency numbers
In an emergency dial 111 (police, fire, ambulance). Dial 105 if it’s a non-emergency (such as lost property).
Our top tips for backpacking smart
Get ready for some budget hacks!
We’ve been racking our brains for ways to save you money and help you travel smarter. Here’s what we’ve come up with:
- ID: Kiwi Access Card
Don’t carry your passport everywhere. Apply for a Kiwi Access Card (government‑recognised photo ID) online or at NZ Post/AA—handy for bars and age‑restricted purchases. Processing takes up to 20 working days. - Free WiFi spots
Look for free hotspots at libraries, isite visitor centres, public spaces, and some cafés. Download what you need before heading off-grid. - Offline maps
Download Google Maps offline or Maps.me before heading to rural areas. Mobile coverage can vanish on scenic routes, and these apps keep you on track. - Public transport apps
Download AT Mobile (Auckland), Metlink (Wellington), and other apps for bus and train schedules. They’ll save you time and prevent missed connections. - Power adapter
NZ uses Type I plugs (same as Australia). Bring a universal adapter and maybe a small power strip if you’ve got multiple devices—hostel outlets are often limited. - Laundry on the go
Hostels often have coin-operated washers and dryers, but they can be pricey. Pack a small travel detergent and use sinks for quick washes—perfect for saving cash on long trips. - DOC visitor centres
Stop by Department of Conservation centres for free maps, trail updates, and safety advice. They’re gold for planning hikes and avoiding closed tracks. - Join backpacker Facebook Groups
Groups like “NZ Backpackers” or “New Zealand RideShare Backpackers” are great for finding job leads, travelmates, rides, and insider tips from fellow backpackers.
Understanding New Zealand culture: Chur bro
Kiwis are proud of their lifestyle—and it doesn’t take long to see why. Life here is famously laid-back, outdoorsy, and welcoming. People are friendly, quick to chat, and always keen to share tips on the best local spots. Whether you’re hiking a trail or grabbing a flat white at a café, expect genuine smiles and a culture that values connection and nature.
You’ll notice the strong sense of community and love for the outdoors. Weekends often mean beach trips, barbecues, or hitting the trails. Don’t be surprised if a local invites you to join in—they’re big on hospitality. You’ll also hear plenty of Kiwi slang, like “sweet as”—a versatile phrase that means great, awesome, etc. It’s also used to express agreement, like “no problem,” “it’s all good,” or “ok”.
If you’re coming from somewhere like Europe the friendliness may feel somewhat unfamiliar to you. Like why does that person want to know how I am? Don’t be offended if someone asks you how you are, or how your day was—it’s totally normal here and part of the cultural interaction. You’ll get used to it pretty quick! Just tell them you had a “sweet as day”. 👌🏼
BBQ on the beach anyone? Bring your santa hat too!
💯 Pro tip: Respect the environment and local customs. Kiwis care deeply about their land, so follow Leave No Trace principles.
Indigenous culture
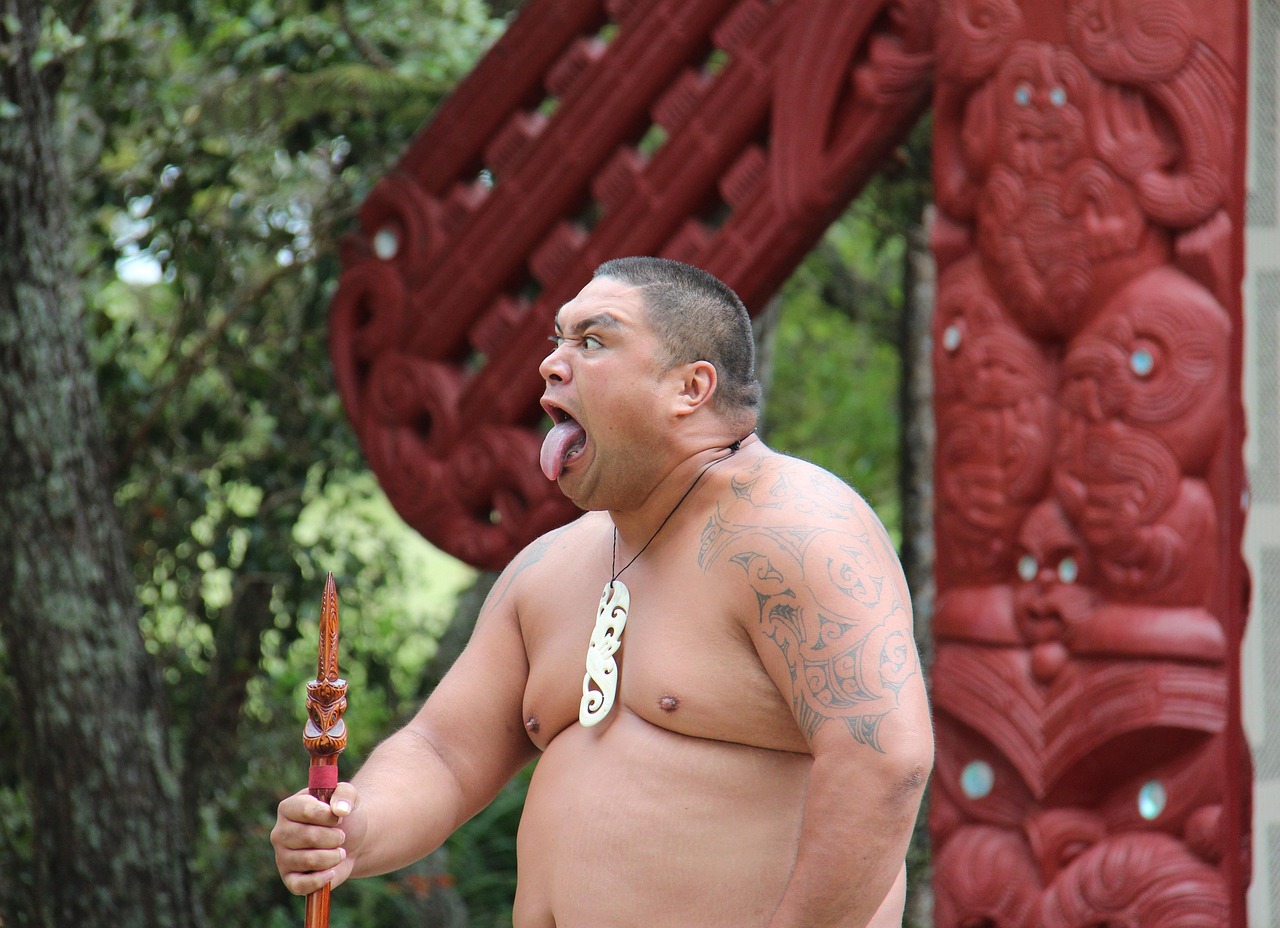
Māori are the indigenous people of New Zealand and their culture is core to the country’s identity. Most travellers have heard of the haka (a variety of ceremonial dances) and actually seeing one performed is a right of passage when you’re backpacking New Zealand.
Haka aside, we highly recommend a first-hand cultural encounter like Manea Footprints of Kupe (Hokianga) or Mitai Māori Village (Rotorua)—for a more in-depth experience of Māori stories and traditions.
Let’s get to know a few Māori words and customs to deepen your experience.
Common Māori greetings and phrases:
- Kia ora: Hello, a versatile and common greeting. Also used as a form of thanks.
- Tēnā koe: Hello to one person (formal).
- Tēnā koutou: Hello to three or more people.
- Nau mai, haere mai: Welcome.
- Mōrena: Good morning.
- Pō mārie: Good evening.
- Kei te pēhea koe?: How are you?
- Kei te pai: I am good.
- Ka kite anō: See you later.
- Kia kaha: Used to encourage strength or confidence.
Common Māori words:
- Aotearoa: The Māori name for New Zealand.
- Aroha: Love.
- Kai: Food or to eat.
- Kai moana: Seafood.
- Marae: A communal or sacred place.
- Taonga: Treasured possessions or cultural items.
- Tapu: Sacred or taboo.
- Wai: Water.
- Whānau: Family.
- Whare: House.
🙏🏼 Pro tip: Join a Māori cultural experience in Northland or Rotorua for context, connection, and proper pronunciation—your trip will be richer for it. When visiting a marae, follow protocols and listen to your hosts.
Essential resources for backpacking New Zealand
- Immigration NZ: NZeTA, visas, fees & processing times
– NZeTA + IVL: Request an NZeTA | NZeTA Overview
– Working Holiday Visa: WHV Guide | Funds Requirement | Who can Apply
– Processing times, fees + more: More Visa Info - Transport:
– Hop-on hop-off: Kiwi Experience
– Classic tours: Backpackerated—Tours
– National buses: InterCity—Backpacker Fares
– Campervan rental: Backpackerated—Rentals
– Campervan relocations: Transfercar | Imoova - Accommodation and outdoors:
– Hostels: Backpackerated—Hostels
– Campgrounds: Backpackerated—Campgrounds
– DOC Campsites: DOC—Places to Stay
– Great Walks info and bookings: DOC—Great Walks | DOC—Online Bookings - Work and volunteering:
– Jobs: Backpacker Board | Backpacker Job Board | Trade Me—Jobs | Seek | Zeil
– Fruit, vege and farm work: Pick NZ | Seasonal Jobs
– Ski season: Coronet Peak & The Remarkables | Cardrona & Treble Cone
– Au pair: Au Pair Link | Dream Au Pair | Global Work & Travel | Au Pair World
– Work exchange: HelpX | WWOOF | Workaway
– Tax ID: Inland Revenue—New Arrivals - Safety and practical:
– Kiwi Access Card: Official Site
– MetService: Official Site
👉🏼 Check out our FAQ for more information about backpacking New Zealand.
Backpacking New Zealand is the adventure of a lifetime
Get ready for a life-changing experience. New Zealand is unlike anywhere else in the world. In fact, it’s the ultimate backpacking destination. This is the place to find your freedom. Connect with travelmates that turn into lifelong friends. Discover highlights and hidden gems.
There are many ways to backpack New Zealand—choose transport that fits your style. Hit the open road in a camper or on a tour.
Remember the hacks in this guide. Consider relocations, working for accommodation, booking in advance. Find a destination you vibe with, and then choose a job there.
Learn about the Māori culture—this will give you a deeper feeling for the country. Challenge yourself on the Tongariro Alpine Crossing. Paraglide over Wānaka. Visit the 8th Wonder of the World. Take the road less travelled.
You can do it all in New Zealand.
Oh, and the scenery speaks for itself. It blows us away every day. ✌🏼